PERENNIALS > CANNA > DIVISION
IN THIS guidebook
CANNA GUIDES

Container GrowingDivisionGrowing From SeedOverwinteringPruning
Bringing a touching of the tropical zone to your murky garden in Old Blighty , marvelous Cannas are brilliant plants to position at the bottom of the seam to answer as a spectacular background .
Their large wavy leaves are usually bright dark-green but quite often occur in variegated forms or in russet tones .

This leaf , moderately in and of itself , skeletal frame tumid flower still hunt .
The bilaterally - symmetric flowers are quite unique in their shapes and cast .
It is probably meet that the flowers of an exotic plant oftentimes can seem rather like the rippled wing of some belittled exotic bird !
Cannas turn from rhizomes – these rootstalk multiply by grow child rhizomes that are attached to the parent rhizomes .
Over clip , the rhizomes – peculiarly the parent rootstock – will brook from congestion and the mature plants will become undesirably slow while probably also not blossom as well as they used to .
you may avoid these problems , give the rhizomes ventilation way , space out the plants , and get new one in the bargain by lifting and part them in fall .

Doing so every four years would be just about good .
you’re able to lift and carve up Cannas by following these steps :
This process is explained in more depth below .

Canna rhizomes should be lifted and disunite in mid - fall or after their leaf have withered and they are insert sleeping .
1) Sterilise Implements
Sterilise your secateurs or dodge shears and a sharp knife .
You may utilize a rubbing alcohol solution , bleach solution or hand sanitiser .
Put on your gardening gloves .
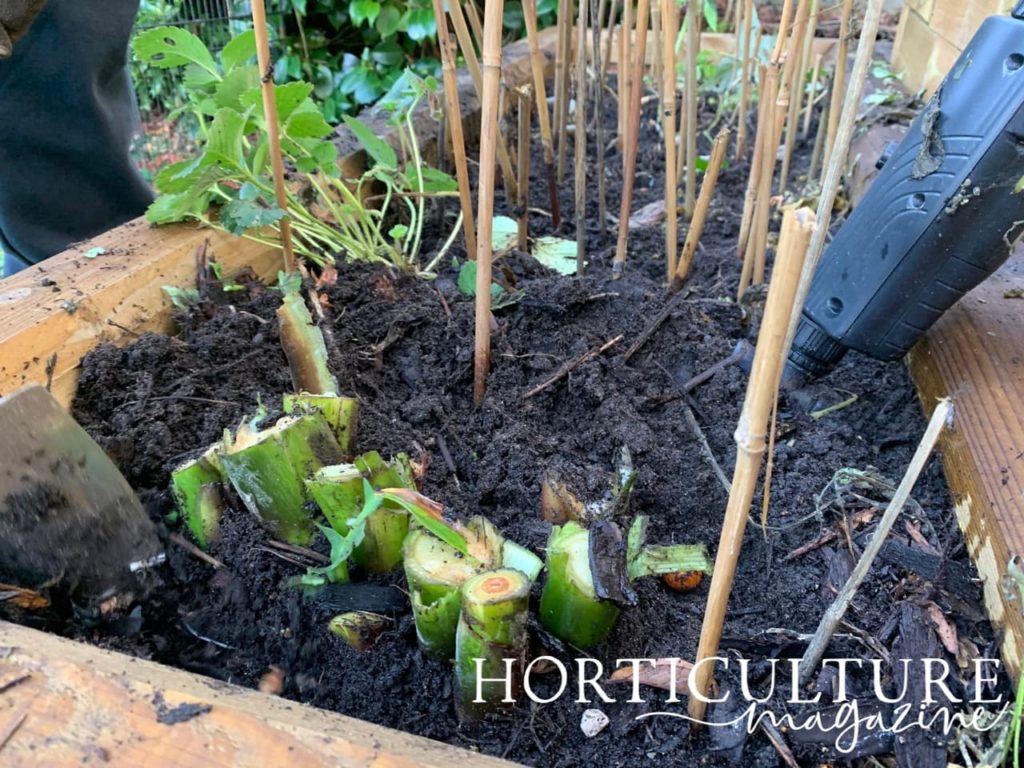
2) Cut Back The Plant
Using the secateurs or hedge shear cut all foliage and stalks from the Canna down to 4 - 6 cm from the soil .
The next stone’s throw is well accomplished when the soil is not soused and is dryish .
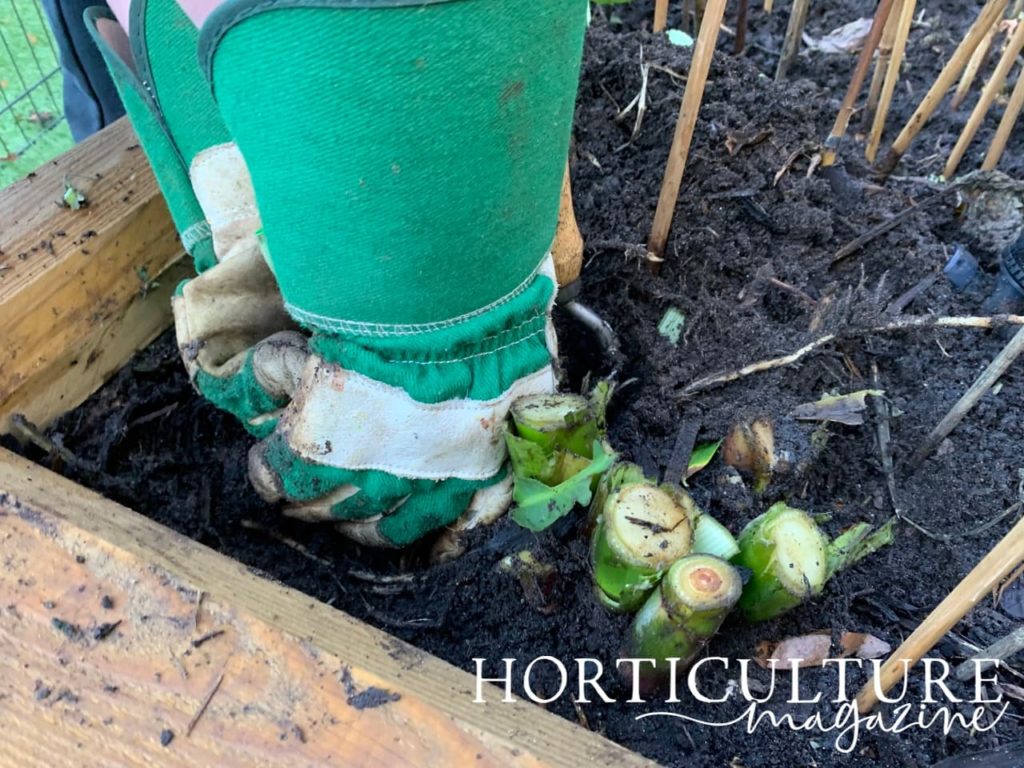
3) Loosen & Remove Soil
Use a gardening fork and gardening trowel or pass spade to gently loosen and hit the dirt .
Using the stems and chaff as a guide as to the positioning of the rootstock , bulge out about 30 centimetres away from it , and ‘ hollow ’ .
Be measured not to strike the rootstock or the roots .

look at using semisoft fictile gardening tools , rather than traditional alloy ones , for this activity .
4) Dig Down Deeper
When the rootstalk is give away , loosen and stab into the soil a little recondite and a little closer around the rhizome – it will need to be removed with its roots entire .
At this peak take peculiar care not to wound the base .
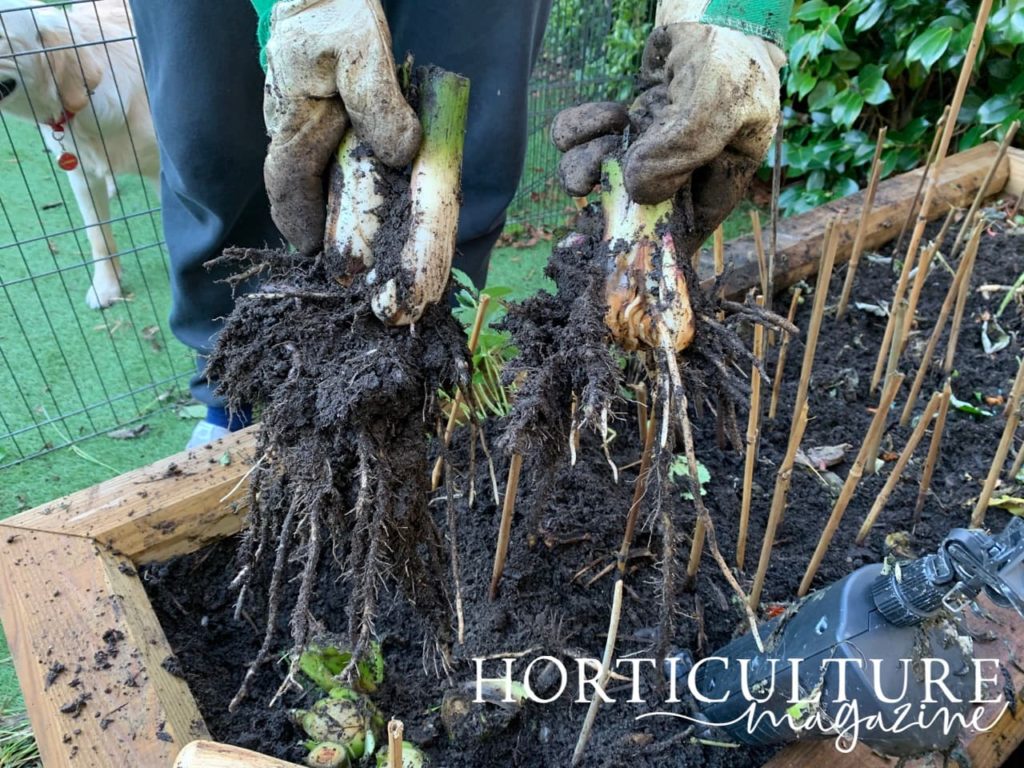
5) Lift The Rhizome
As before long as you are capable to do so , using your ( gloved ) give force into the stain , gently joggle the rhizome and work it unaffixed , and reverse it up with its roots entire .
lightly houseclean the soil off it – do not itch it harshly .
6) Break / Cut The Rhizome
Break the rhizome flawlessly if you are able , or sheer it with the discriminating knife you ’ve sterilised , at the junctures where the children are growing from the parent .
Break or cut such that each separate piece has at least one optic and preferably two , and ( only ) some antecedent .
7) Disinfect The Rhizomes
Pre - emptively disinfect the rootstock to ward off any diseases .
Sprinkle a tactual sensation of sulphur gunpowder , or sweep the bleach root with your ( ungloved ) fingers , on the impudently - fall apart or -cut surfaces of the rhizome .
Now the divided Canna rootstalk are all set for re - planting or depot as the case may be .